Signs come in all types and sizes. Lettering and advertising images are present on T-shirts but also on buses and trucks. In order to use the correct file format during production, it is important to be able to work in the actual production format. Good to know is that you can always work in 1:1 format in EasySIGN. There is no limit to the size of your worksheet. (Other software applications have a limitation in the size of the worksheets. For example, Adobe offers a maximum page / worksheet size of 578 cm).
Advantages of 1:1 format
- Correct size display of the entire design.
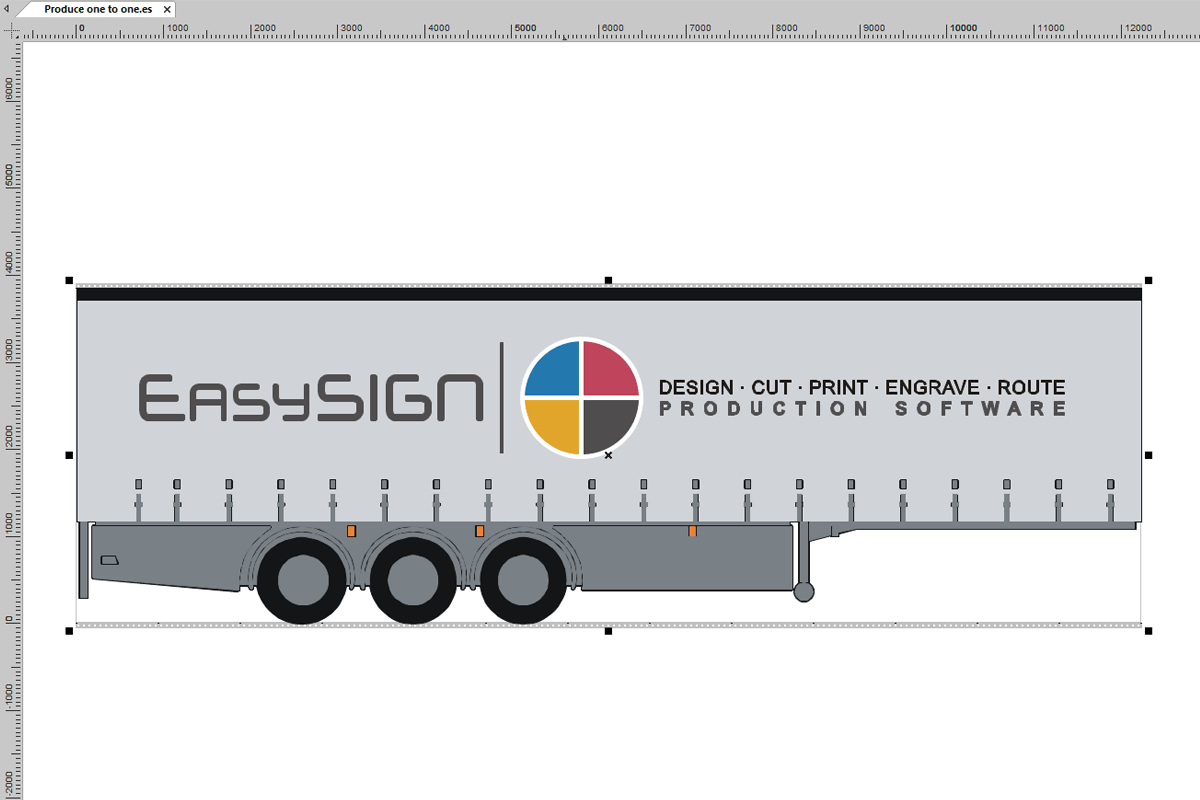
For example you can import a truck at actual size in EasySIGN and place your design directly real-size on the truck - Exact dimensions of the objects to be produced.
By working in 1: 1 format you prevent deviations in the format of your output files as they need not be designed to scale. - When working with bitmap files you can also see the resolution of the file on which it will be printed in the 1: 1 display mode
- You don't need to divide your worksheet because it is too large in size to fit on one sheet
Useful features when working at full size format in EasySIGN
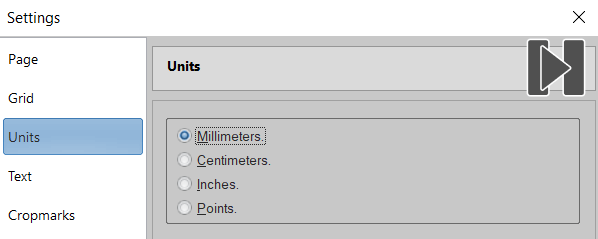
Set your worksheet to the desired measurement units
View > Settings > Units
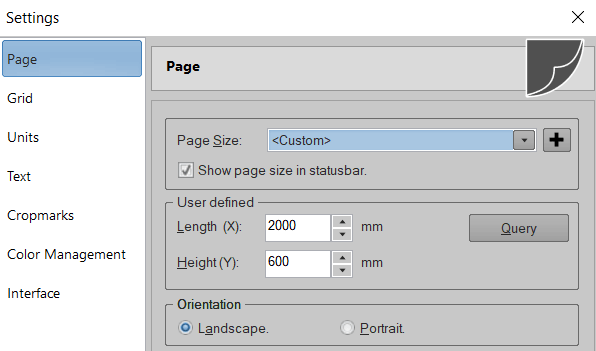
Set your page size to the size of your production order
View > Settings > Page
Check your work in 1:1 display mode
The 1:1 display mode can be found under the magnifying glass in the EasySIGN toolbox.

With this zoom feature you can quickly set the screen display in EasySIGN to 1:1 format:
You can view the design 1:1 zoomed in by pressing the space bar. The move sign appears on the screen. ![]()
![]()
You can then move the design with the left mouse button without changing the position of the objects. As soon as you release the spacebar, the image returns to the normal zoom mode.
Add dimension lines to your design
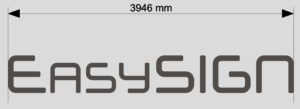
By adding dimension lines you can indicate the sizes of the objects in your design.
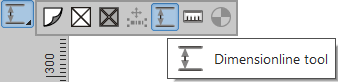
You can find the dimension tool in the toolbox to the left of your worksheet:
Then press the left mouse button at the point where you want to start the dimension line and hold your mouse down to the point where the dimension line ends.
Within the properties menu of the dimension lines you can choose to automatically scale the text in your design.
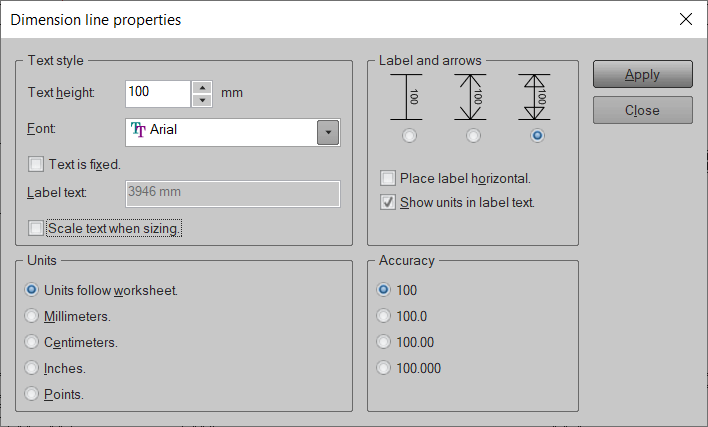
If you choose a fixed text label, it will not change when scaling. Very useful when you have a scaled design that is either enlarged or reduced.
Convert a scaled design to 1:1
When you receive a scaled design you can easily convert it to 1:1.
To do this, import or open the scaled design and select everything when the file is opened in EasySIGN. You can now scale directly to the desired size with the transformation assistant. Just select the scaled design on your EasySIGN worksheet and open the EasySIGN transformation assistant.
View > Toolbars > Transformation assistant
![]()
![]()
For example when a design made on a 1:2 scale, you can immediately set this to 1:1 by choosing 200% in the transformation assistant and pressing enter.
![]()
![]()
The design is then immediately adjusted to the desired size:
![]()
![]()
Resize bitmaps without loss of quality
In case your design includes bitmaps and you want to prevent a decrease in the bitmap resolution after resizing the design. You can increase the resolution of the bitmap in order to increase the scaled design while maintaining the bitmap quality. To do this, select the bitmap in your design and increase the resolution with the scaling factor.
Bitmap > Image > Image size
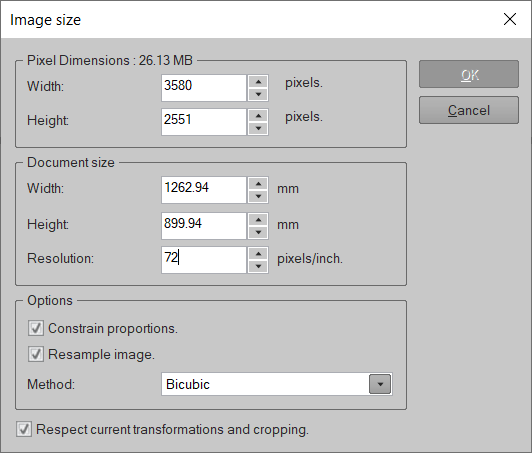
In case the scaling factor is 1:10 you can increase the resolution of the bitmap from 72 to 720 dpi. When you subsequently scale the design 10 times larger, the bitmap will still be displayed at its original resolution of 72 dpi. So no loss of bitmap quality.
EasySIGN suits designing in both small and large format!
You may also like
Color Management