EasySIGN offers a workflow for creating a design with front and backside. First design your front, then use File > Worksheet > Create backside.... to create your backside.
How to do this you can read in the following example to create a single (or a set of) door hanger(s)
Creating a single doorhanger
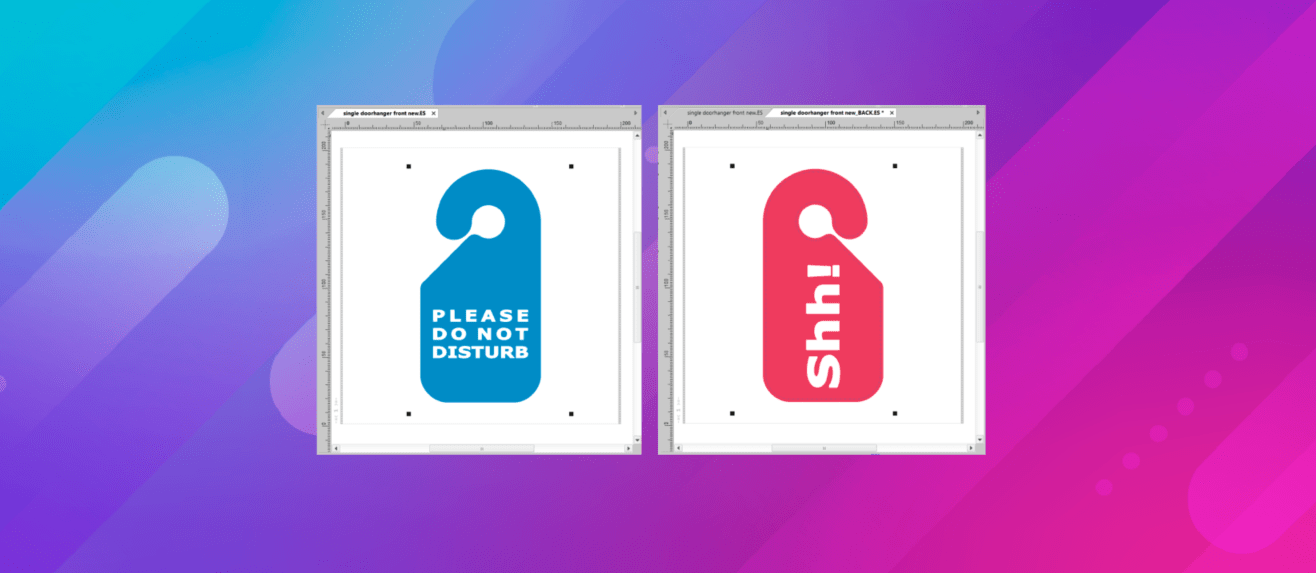
We have created the front for a design of a door hanger. This design will be printed on both sides and will be cut in the correct shape afterwards.
Before you ceate the backside of the design you need to add the allignment cropmarks for the optical postioning system of your cutter. Read more about the various allignment systems and adding cropmarks in our Tip & Trick about allignment cropmarks.
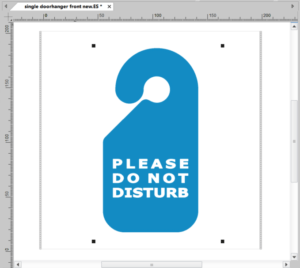
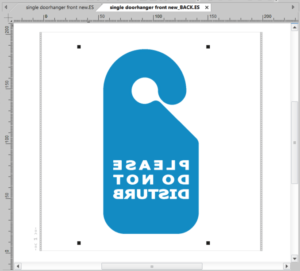
The frontside design including cropmarks is as follows:
We create the backside for this doorhanger with the feature Create Backside
File > Worksheet > Create backside
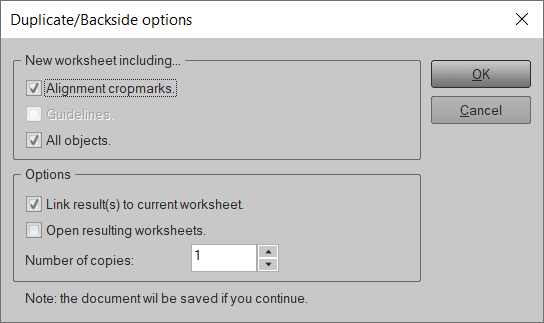
Add the settings for the Backside worksheet, choose for Allignment Cropmarks and link the Backside to the original worksheet with the design of the Frontside. Press OK to create the Backside.
The frontside is placed and mirrored on the exact position where it is located on the backside.
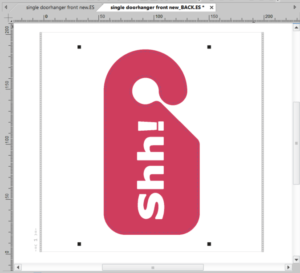
In case you have a double sided transparent design than this design of the backside would be correct. In this case we change the text and color of the design of the backside. The transformed backside is as follows:
Now the doorhanger can be produced by printing the frontside and the backside of the design and cutting the media by usign the allignment cropmarks afterwards on your cutter.
You may also like

Color Management