EasySIGN offers object oriented designing. This means that each part of your design is displayed and stored as a separate object including properties. You can adjust each object and go back to each step of your design without having to recreate your worksheet. This saves you a lot of time and improves the reproducibility for your designs.
Each EasySIGN worksheet consist out of various objects such as text, drawings and pictures. These objects together represent your design. Each object can have all kind of characteristics like in case of text it will represent a font and in case of a drawing a shape. A big advantage of object oriented designing is that the building blocks of the various objects of your worksheet design are saved and can be altered afterwards.
How does this work?
This is best explained by showing some of the features within the EasySIGN Objects Menu.
The objects menu
View > Toolbars > Objects
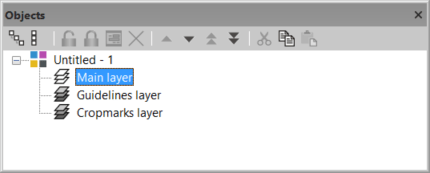
When starting a new empty worksheet the Objects menu will only display the layers as standard present in an EasySIGN worksheet. These are: the Main layer, the Guidelines layer and the Cropmarks layer. The Main layer is used for placing the design objects. You can also add new layer to your design. For example you can add a layer to accommodate your cutting lines of your design. The standard Guidelines layer is used for displaying the guidelines and the Cropmarks layer for displaying the cropmarks. Read more about placing cropmarks in our Tip & Trick Alignment cropmarks.
More added value of the Objects menu is displayed when you open an EasySIGN worksheet that contains a design.
Example worksheet
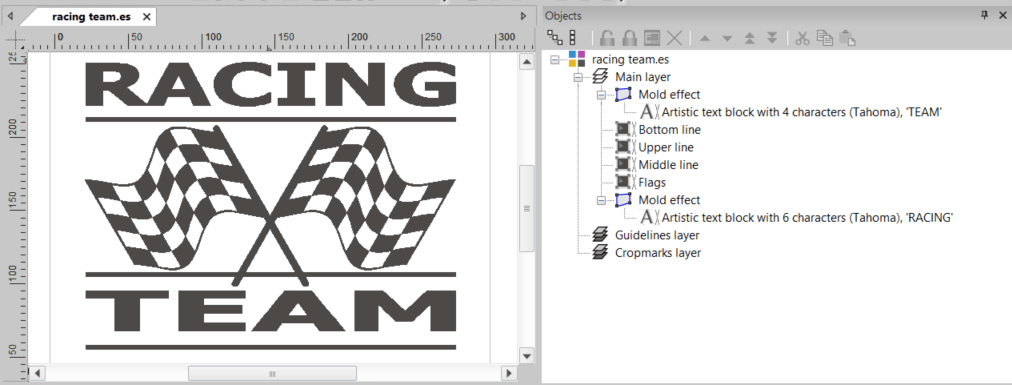
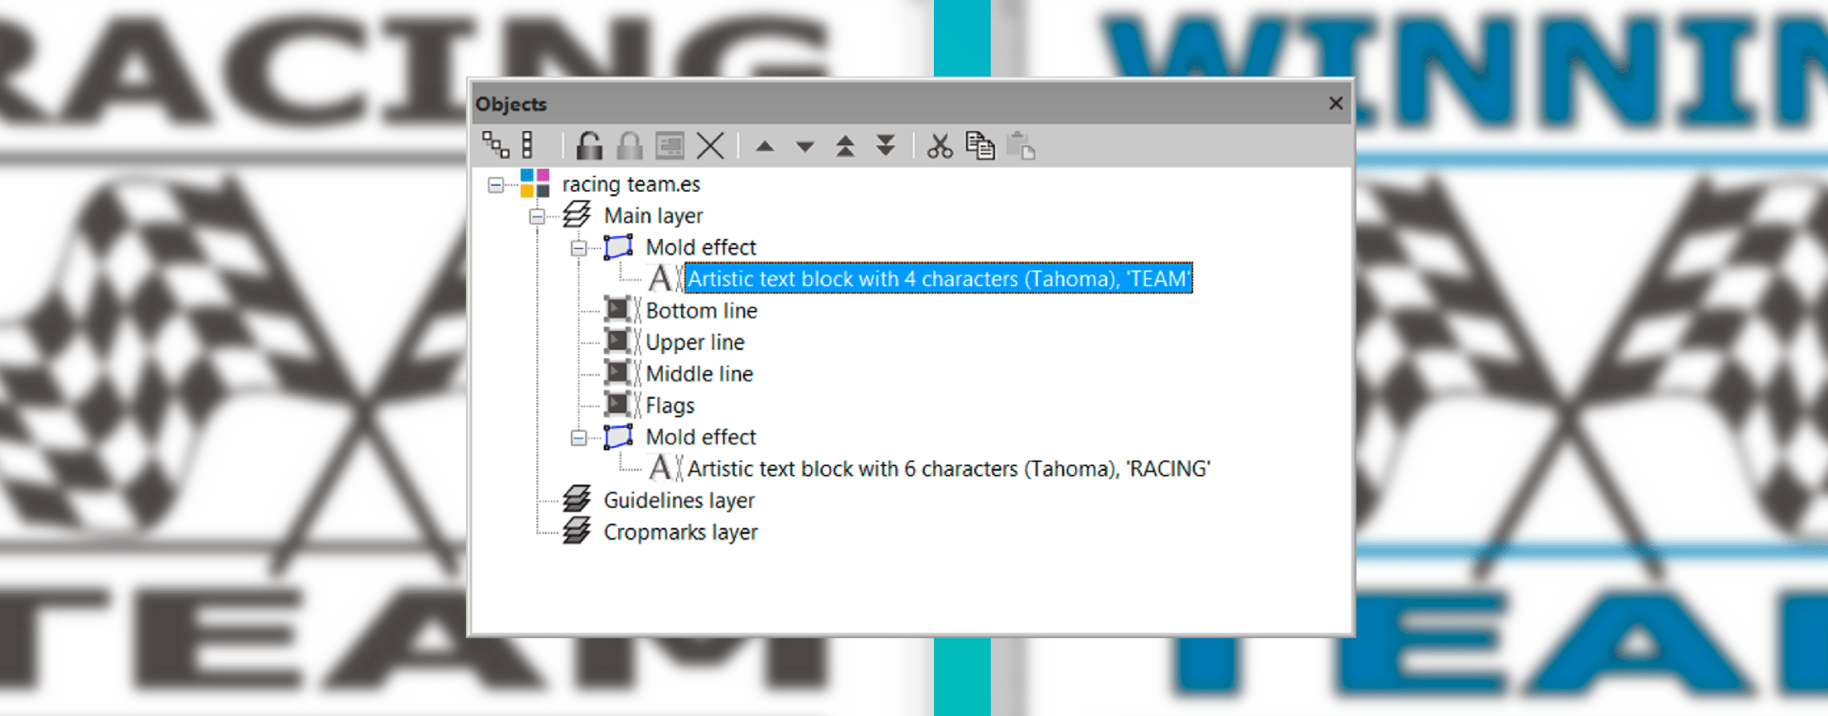
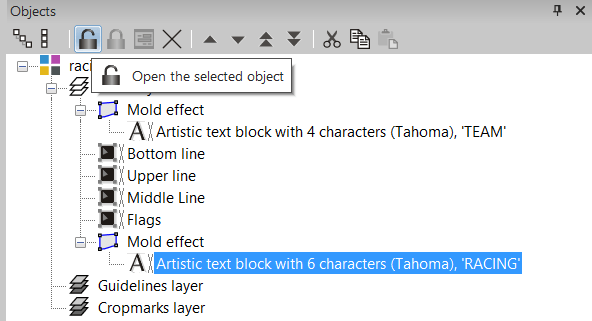
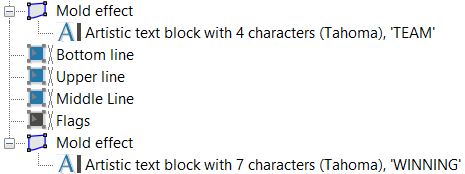
In the Objects menu you can see the various objects of this worksheet. The design exist out of two lines of text. Both text lines contain the Mold Effect. This effect is used to size the text to fit the design. Further the design has 4 black curves the upper line, middle line, bottom line and flags. We want to change the text “Racing Team” into “Winning Team”. To do so we select the "Racing" text in the Objects menu and press the “Open the selected object” button to open the object.
After opening the Racing object we open the EasySIGN text editor to change the text from racing into winning. When the text is changed we simply press the “Close the selected object” button and automatically the text will be changed and the Mold effect will be automatically applied.
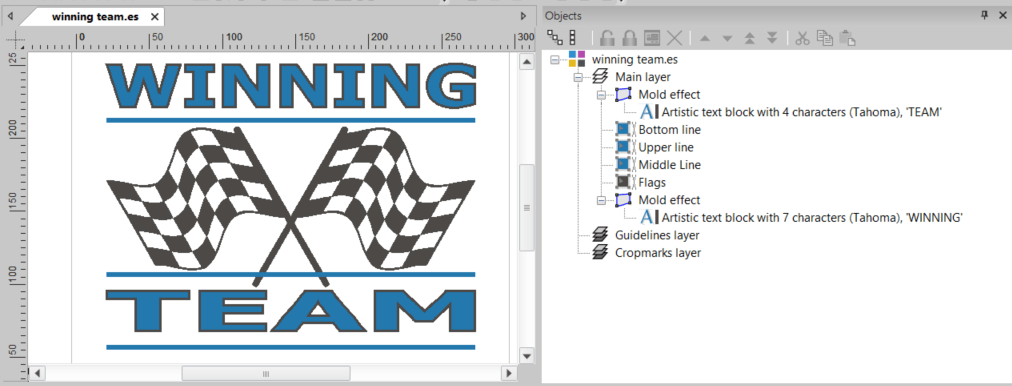
We will also change the color of the upper, middle and bottom line to res as well as the fill color of the text. The design is now as follows:
Display of line and fill colors
In the Objects menu the fill colors of the lines have changed as well as the line and fill colors of the text. The fill color of the text is bleu and the line color of the text is black. Both are displayed in the Objects menu.
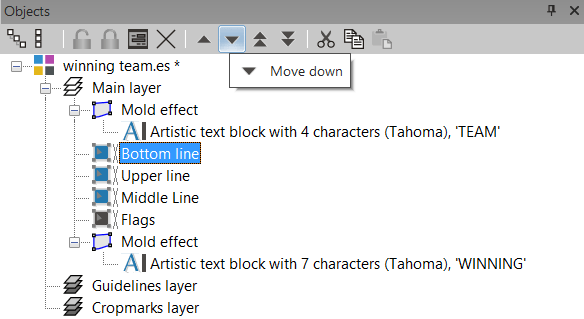
Moving objects
You can move, cut, copy and paste objects in the Objects menu by using the buttons on top of the menu. So we can move the Bottom line under the Middle line.
You can also drag the selected object and drop it on the preferred position manually.
Changing Properties
You can reach the properties of each object by selecting the object and pressing on the “Show properties” button on top of the Objects menu.
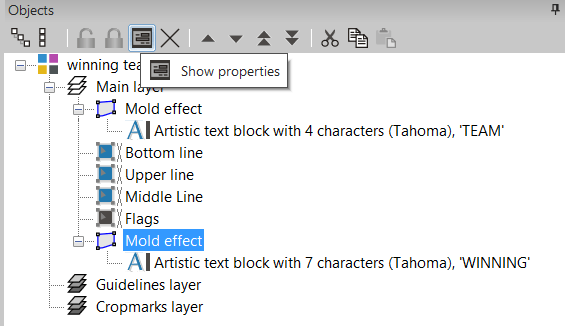
This will open the properties menu for the selected object. So in case this is an effect, the selected effect menu will automatically open, the settings will be displayed and can also be changed immediately.
The Objects menu offers an extensive collection of features to quickly customize your production worksheets.
You may also like
Color Management