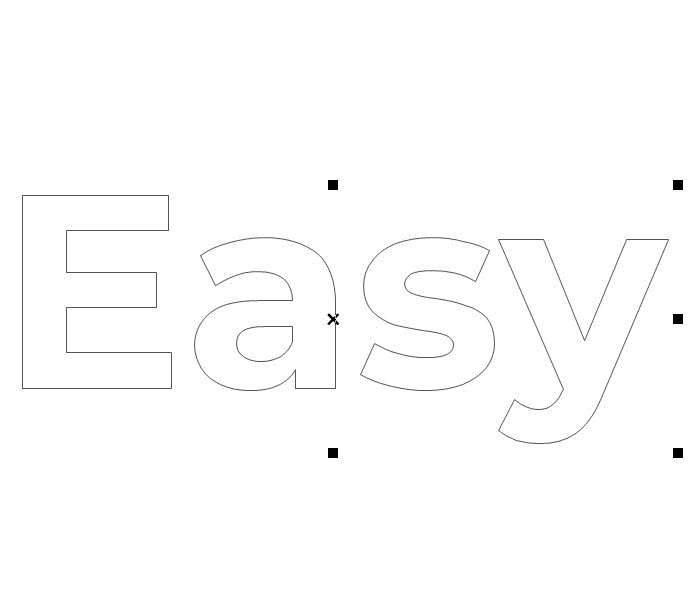
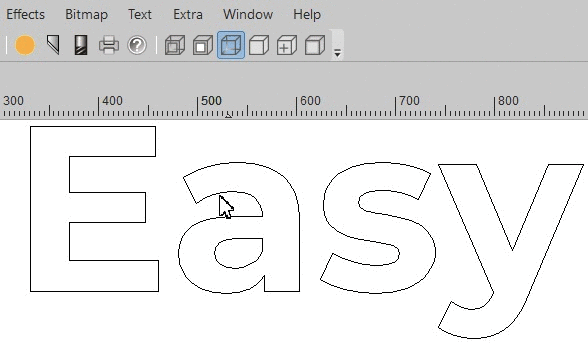
Toolpaths are needed to specify the production of a routing or engraving job. Create fast and flawless your production paths with the toolpath features in EasySIGN, we will show you how!
Toolpath Wizard
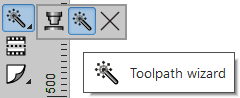
The Toolpath wizard is a great help to apply a complicated tool pad. A number of frequently used applications with tool paths are implemented in this wizard. Just follow the steps and indicate what you need to route or engrave. Answer the questions in the wizard and press “Next” until you reach the button with “Finish”. The toolpaths will be automatically calculated.
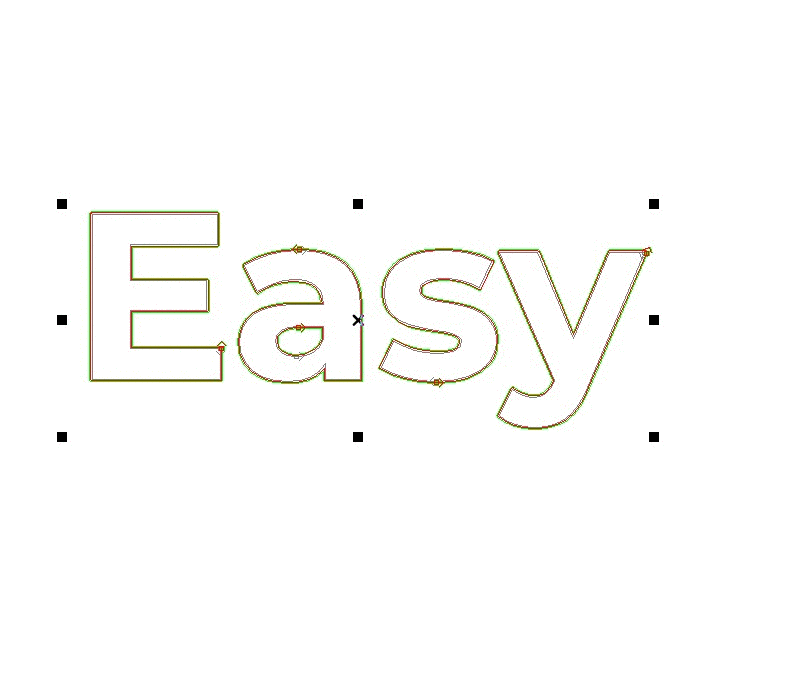
Pass types
Every production style contains one or more passes. One pass is often sufficient but with thicker media more production passes are required. For each pass you can set the pass type, overlap and margin. The following pass types are available:
| Line | The path will follow the objects line. |
| Male | The path will be run outside the object. The actual shape of the object will be the result. |
| Female | The path will be run inside the object. The actual shape of the object will be removed from the material. |
| S-Fill | The pass removes the inside of an object following an "S" shape path. |
| Line Fill | The pass removes the inside of an object following a set of straight lines. Suited for laser and other apllications where heat can occur. |
| Line Fill, Sorted | The same as line fill but the tool will take the shortest path to follow. |
| Island fill | Remove the interior of a shape via a path of concentric circles from the outside to the center of the shape. |
Change or add toolpaths
For each tool pass you can set a Tool as available in the Tool library. Choose depth and speed for production. After changing the settings the toolpath will be automatically recalculated.
View modes
View > Quality > Toolpath
You can choose to view the toolpaths and direction only or in solid (filled) screen mode.
You may also like
Color Management