Use guidelines to easily position your design. Guidelines are displayed as a blue dotted line and placed on top or behind your design.
Insert Guidelines
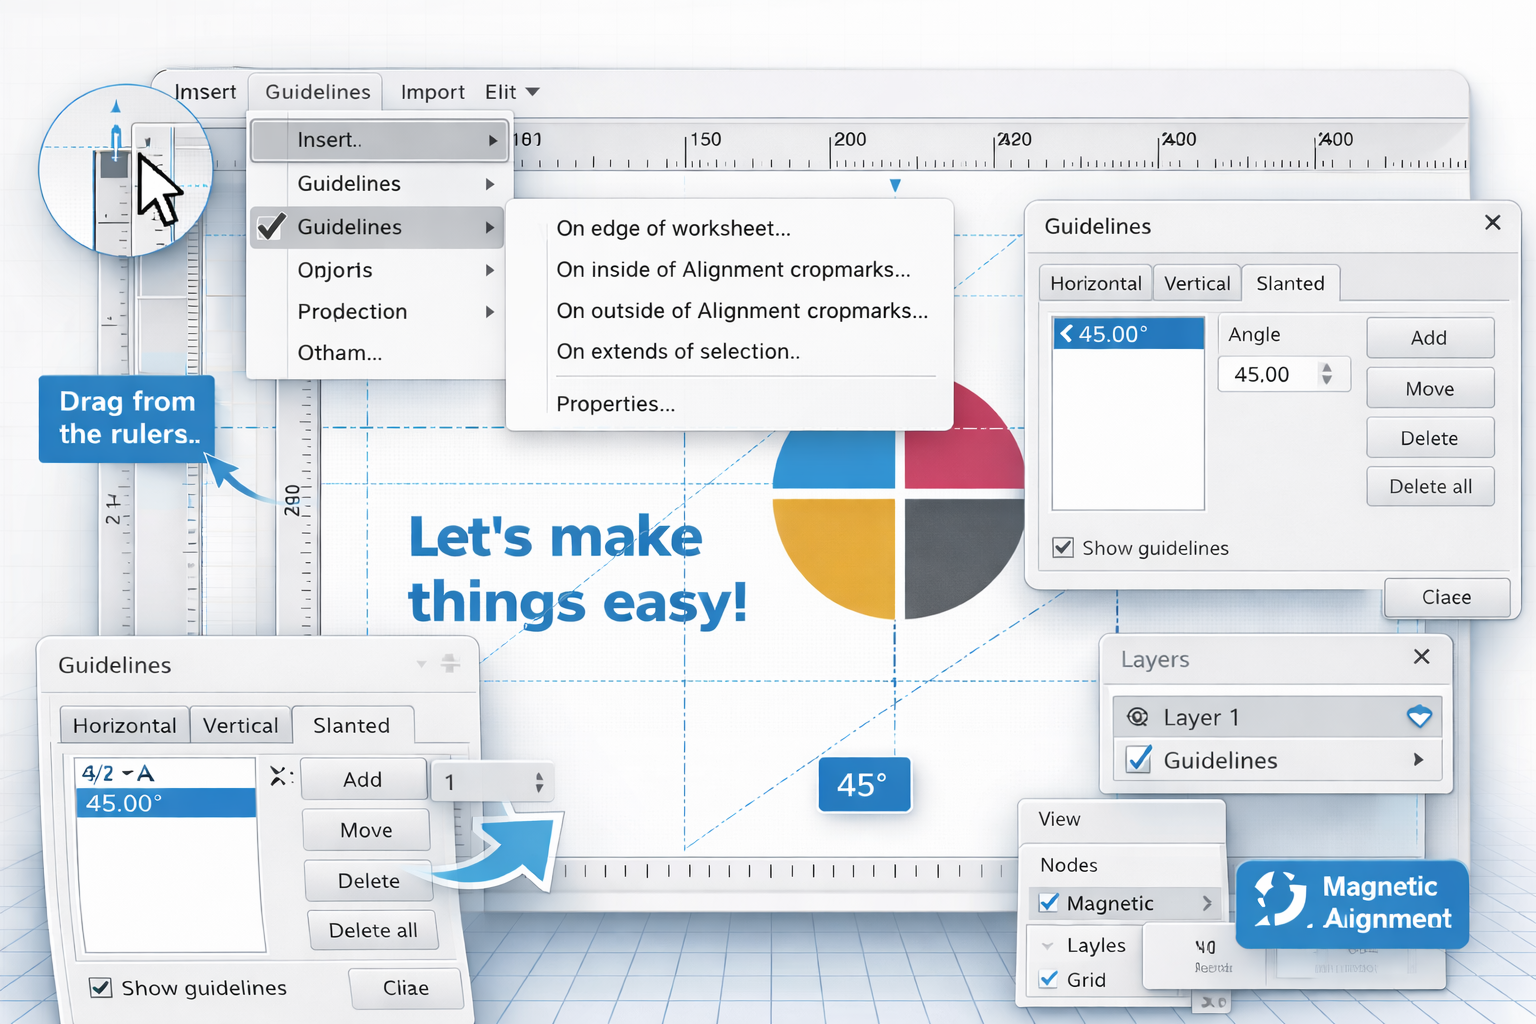
The easiest way to add a guideline is by dragging one with your left mouse button from the rulers aside of your EasySIGN worksheet. Or drag a horizontal and vertical guideline from the connecting corner of the rulers, on the top-left side of the EasySIGN worksheet.
Change properties
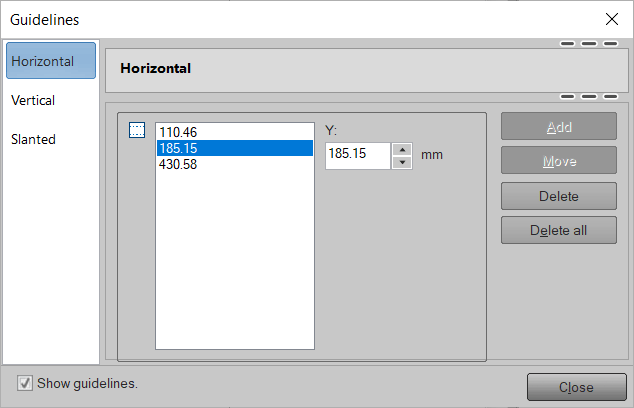
To add or change the position or set guidelines manually go to Insert > Guidelines > Properties.
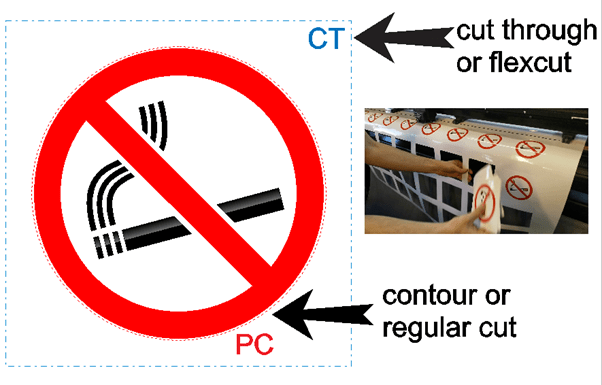
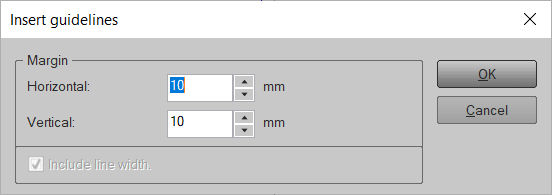
Add guidelines on the edge of a worksheet Insert > Guidelines > on Edge of worksheet..., around a selection Insert > Guidelines > on extends of selection...or add guidelines around print and cut alignment cropmarks Insert > Guidelines > On inside / outside of Alignment cropmarks... for aligning print and cut jobs.
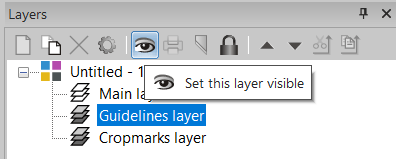
Set visibility
Toggle the visibility of guidelines in the layer menu .
Magnetic guidelines
View > Magnetic > Guidelines
Set Guidelines and nodes to magnetic to easily align various objects on an EasySIGN worksheet.
You may also like

Color Management